How to Install Gooogle Search Console
You will learn how to set up Google Search Console in this 2 minute tutorial.
Your objective in this chapter is to set up Webmaster Tools so that you can monitor traffic and find areas for improvement within your website.
Step 1: Go to www.google.com/webmasters/tools. (You should already be logged in to Google but you may have to log back in.)
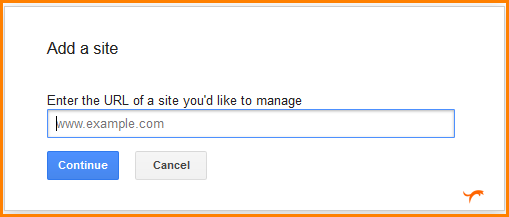
Step 2: Add site information.
- Click red “Add a Site” button in upper right (a popup will appear where you can add your site)
- Copy and paste your URL for accuracy
- Click “Continue”
Step 3: Verify site ownership.
There a few ways to verify site ownership. We recommend the easiest way, to verify with “Google Analytics.” Choose “Google Analytics.” It will expand and you will see a message like this:

Click “Verify.” If done correctly, you will see this:
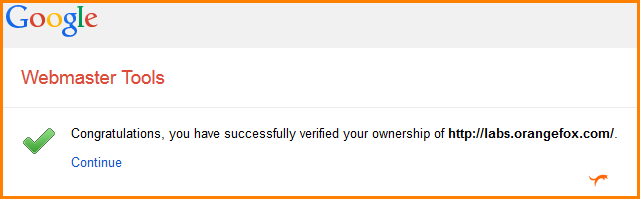
(If you don’t see this message, repeat this process making sure you followed all the steps and entered your URL correctly.)
Step 4: Choose your preferred URL and check it for accuracy.
- Check to see that both the “www” and “non-www” versions of your website have been added to Webmaster Tools. (Typically you will not have to re-verify the additional version.)
- Choose the preferred version by clicking the cog wheel in the upper right hand corner. In the drop-down menu, choose “Site Settings.” On this page, choose the version you prefer Google shows in the search engines.
If you are unsure which one you want, we advise you go to Google, type in your company name and city, and look at the URL that pops up in the search engine.

Then, click on your website and look at the URL in your browser window.

If they match, then you’re doing great!
Choose that version in Webmaster Tools and click “Save.” (If they do not match, there are probably other issues with your site). Do the same on the other version of your website. You can click the drop-down in the upper right hand corner with your URL and choose the other version of your site.
Step 5: Choose your geographic location (on both website versions).
- Click “Search Traffic” on the left hand menu.
- When this expands, choose “International Targeting.” Your location in the world will determine which option you should choose. We chose “United States” for our purposes. If you have a world-wide audience, then don’t choose anything.
Huzzah! You’ve met your objective in this section of setting up Google Analytics and Webmaster Tools so that you can monitor traffic and find areas for improvement within your website.
Final Thoughts
When you know how much traffic you have and where it’s coming from you are able to create plans for the future of your website and know where to focus your efforts. Sure, there are a variety of tracking platforms out there, from free to extremely expensive. The way we see it? For the money, there is no contest that Google Analytics is the best. In addition, Google seems to “reward” sites that use their products, although they may not ever publicly admit to it.
Webmaster Tools provides you with information about how Google views your site, and provides them a method to contact you if they see any issues. With this system, you’re provided with data about your rankings and click-through ratios that you won’t find elsewhere.
We know it takes patience and time for you to set up these tools. Let’s be honest – it’s definitely not the most exciting part of the process! However, we are convinced that the data these tools provide will help you to direct your marketing efforts in a meaningful way.
Phew. Take a deep breath. Keep up the good work. We’ll see you in the next chapter!