Do you know where your traffic is coming from? Do you know how many visitors are seeing your site? If you can’t answer these two crucial questions, you will never know what changes need to be made to your marketing plan.

By using the next two free tools, you will see in your website: a) whether traffic is increasing or decreasing, and b) what areas are working well versus what areas need improvement. Each of these steps takes 30 minutes or less to set up and will be well worth your time by providing you with extensive data about your traffic. Your objective in this chapter is to set up Google Analytics so that you can monitor traffic and find areas for improvement within your website.
Note: This information is designed for people planning to set up one or a few websites. If you’re planning to manage a million website empire, you’ll want to go a different route.
Let’s get started!
Setting Up Google Analytics
Step 1: Go to www.google.com/analytics.
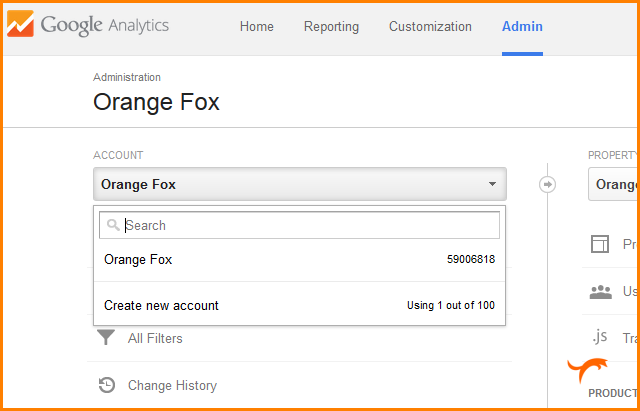
Step 2: Login to Google Analytics and click “Admin” in the header. Click the drop down under account and click “Create new account.” If you are adding your first site it will skip that first step.
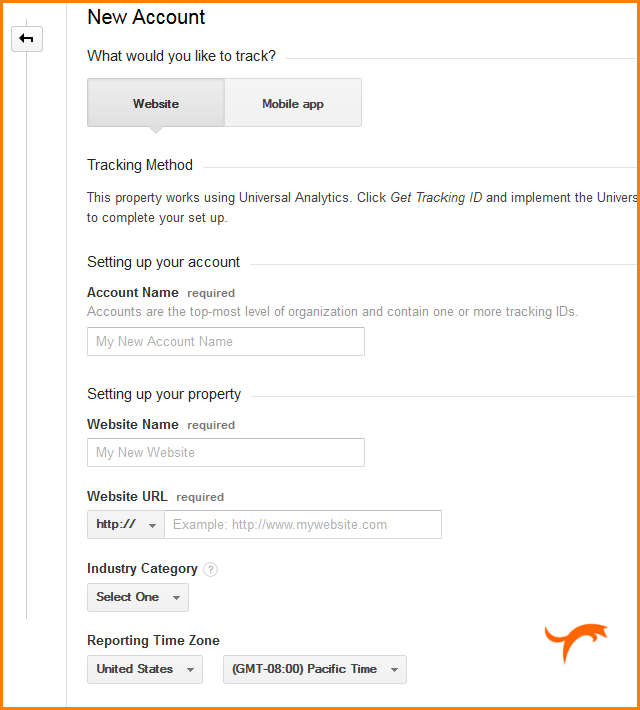
Step 3: Provide data about your site on the “New Account” page.
Note: It is crucial that you enter everything correctly into these fields to avoid inaccurate data.
- Add an account name (this can be anything but we usually recommend using either the URL or the name of the website).
- Add your “Website Name,” using the same name you did for your account.
- Enter your URL into “Website URL.” We recommend that you open your website and copy and paste to make sure it is the exact URL to avoid tracking issues. It is also important to choose “www.” or https” from the drop-down menu.
- Choose an Industry Category to match your niche, or choose “Other” if none match your site.
- Enter a timezone correctly is helpful if you are planning to track traffic at specific times of the day.
- Choose “Data Sharing Settings,” per your preference (not required).
- Check the two final options if you would like to allow Google representatives to access your data if you contact them for assistance.
- Click “Get Tracking ID,” and agree to their Terms of Service. On the following page, there will be a box with a tracking code. Since we are using a different method to add the tracking code to the site, you do not need to worry about using this code at this time.
Installing the Tracking Code
![]() There are 3 different methods to add the tracking code to your site:
There are 3 different methods to add the tracking code to your site:
- Add code manually to the header
- Add a plugin to your site
- Using Functions.php
We are going to walk you through Method 2, as it works with any theme. (Method 1 works well for most developers. However, if you upgrade certain themes, it removes the code and Google Analytics will stop working. Method 3 requires a lot of technical knowledge so it’s more time consuming for you to learn if you’re new to this process.)
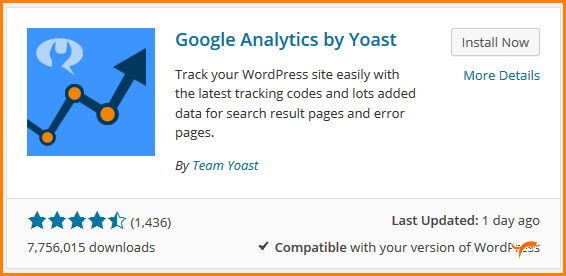
Step 1: Install a plugin (We recommend “Google Analytics by Yoast,” with it’s user-friendly dashboard)
- Go to WordPress
- Find plugins section
- Click “Add Plugin”
- Search for “Google Analytics by Yoast.”
- Click “Install Now” and activate it on the following page.Find it by going to plugins section at WordPress and click “Add Plugin.” Search for “Google Analytics by Yoast.”
Step 2: Update your settings and authenticate with your Google account
Once you have the plugin installed and activated you will see a new menu item on the left hand side called “Analytics.” Hover over that item and click “Settings.”
It should look like this:
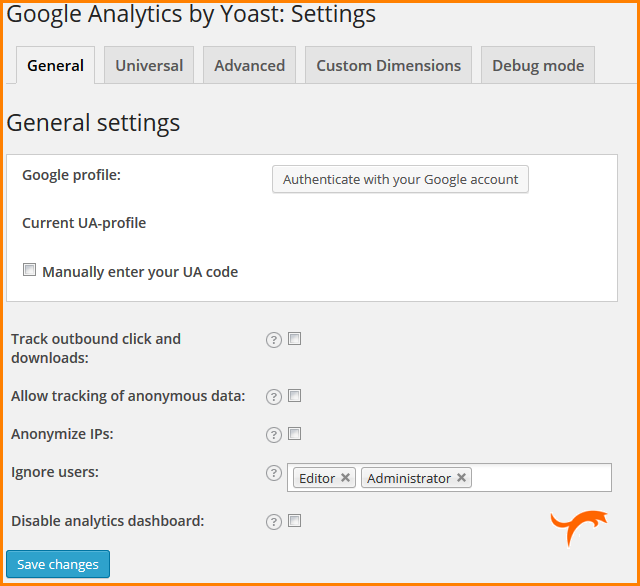
Click the “Authenticate with your Google account” button (you will need to be logged in to the Google account you used to setup Analytics).
You will see a window pop up that looks like this:
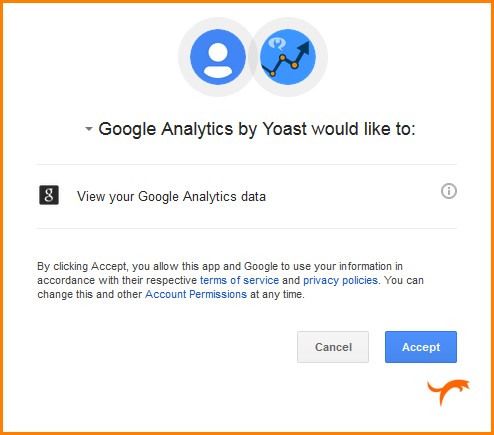
Click “Accept.”
A window will pop up with a code for you to copy. Copy it and paste it in the box on the left.
It should look like this:

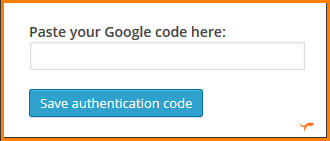
Click “Save authentication code” button.
From the drop-down menu (that replaces the “Authenticate with your Google account” button), choose your website.
Phew! You’re done!